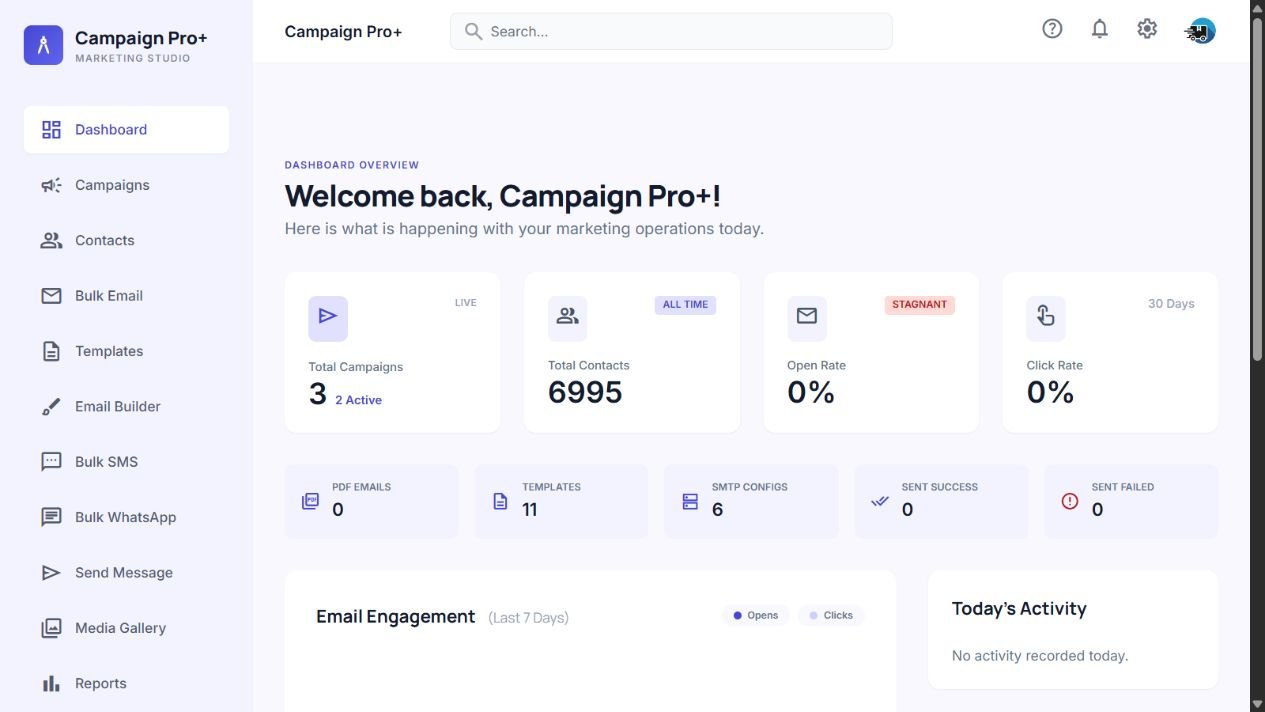
Add your contacts
Bring your audience into one organized place before you send.
- Manually add contacts or import a CSV
- Create contact groups
- Use tags and segments to target thoughtfully
Follow a straightforward workflow to organize an audience, create a campaign, set up automation, and learn from the results.
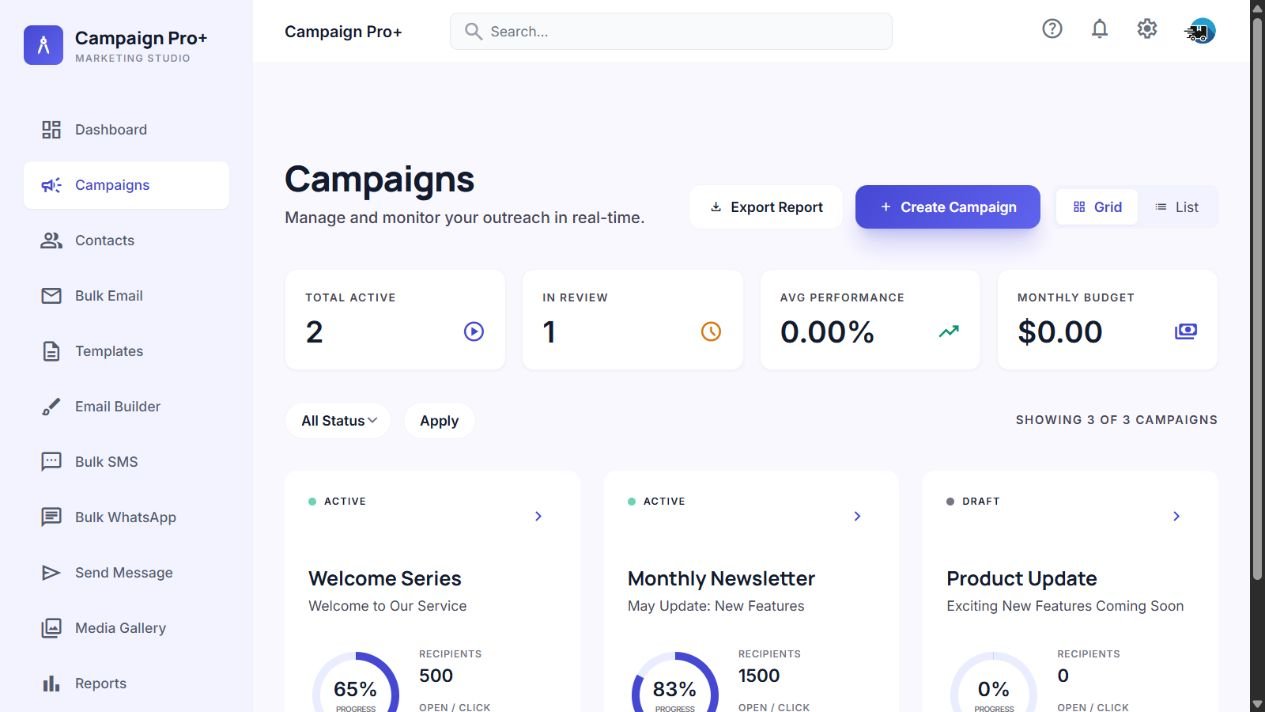
Start with organized contact groups, build the message for your channel, use automation where it helps, then review engagement in the dashboard.
See the four stepsUse the same simple rhythm each time: prepare, create, automate, and review.
Bring your audience into one organized place before you send.
Shape the message and choose the channel that fits the audience.
Connect a trigger to the next step in the audience journey.
Review engagement and use what you learn to plan the next send.
Use the page builder to arrange sections, place a form, and preview the layout across screen sizes.
Explore the landing page features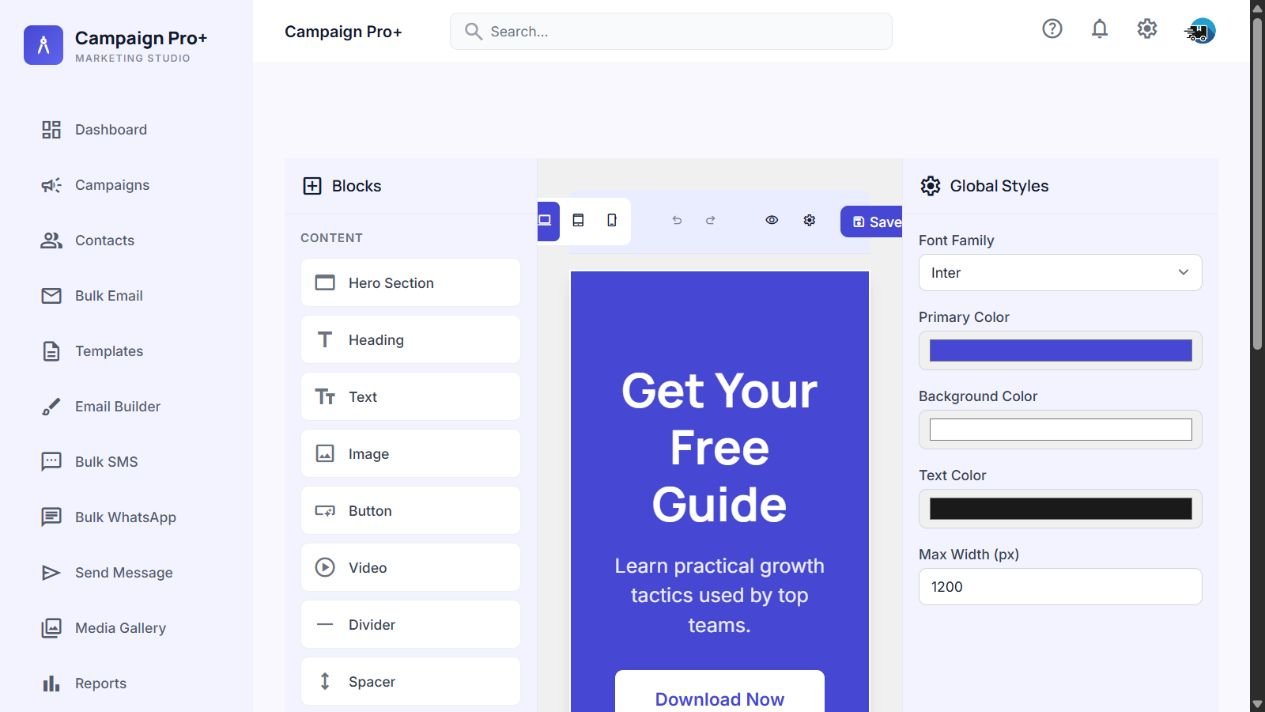
A few practical checks to help your first campaign get off to a clear start.
Set up your profile
Add your company details and branding.
Import your first contacts
Use a CSV template to prepare the audience.
Create an email template
Customize a reusable starting point.
Send a test campaign
Preview the message before the send.
Set up an automation
Start with a welcome series or follow-up sequence.
Our documentation and support team are here to help you succeed.
Bring contacts into one place, group them around the campaign, and use tags or segments to plan who should receive each message.
Create the campaign, start from a reusable template, then arrange a landing page and form around the action you want readers to take.
Connect a trigger to a follow-up sequence and use engagement reports to plan the next send with more context.